
Programming Inexpensive Lighting Controllers- Part Two A: Programming Scenes
 In my last post in this series, "Fixtures" I discussed properly addressing lights so that they would correspond with the proper fixture button on the Chauvet Obey series controllers. I've decided to break the scene programming posts into two sections. In the first part I'll just talk about actually programming the scenes. Which buttons to press, and in what order. The second part I'll actually go over some strategies for creating scenes, so that the controller really works for you, rather than against you.
So How Do We Do This?
Starting off we have to remember that the Obey 10 doesn't have scenes. So we'll skip that one for now. The Obey 40, and 70 do use scene memory, as does the Elation DMX Operator. We need to find the program button.
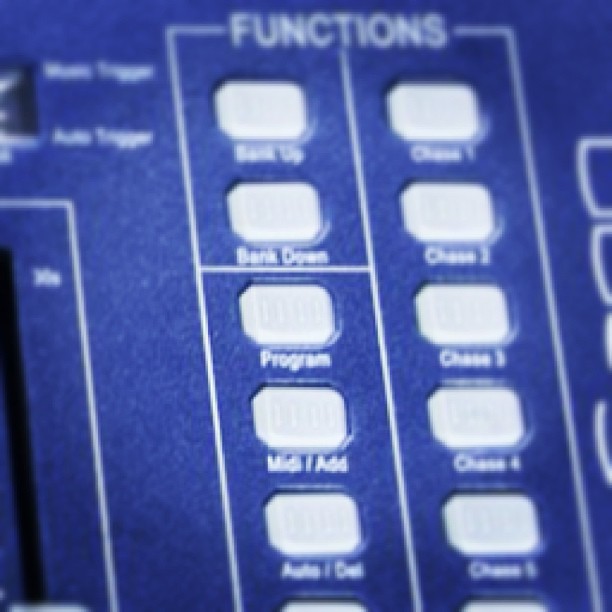
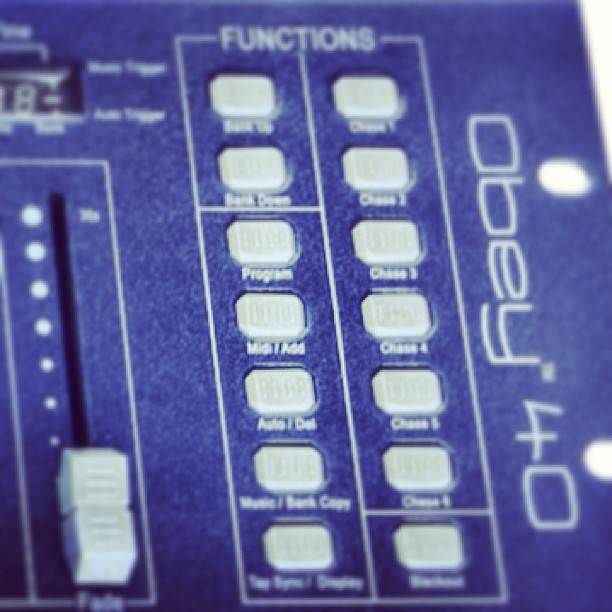
On the Obey 40 look for the big "Obey 40" logo on the right side. There are two columns of buttons directly to the right of the logo. The Program button is the third button down, on the second column from the right.
The Obey 70's Program button is the top right-hand button, just under the LCD display. If you look for the Obey 70 logo on the right hand side of the console, you'll see two faders directly to the left of the logo.
Now that we have located the Program button, hold it down for three seconds. Boom! Now we are in program mode! This will be indicated by a little light blinking in the lower left hand corner of the LCD Screen.
Programming a Scene
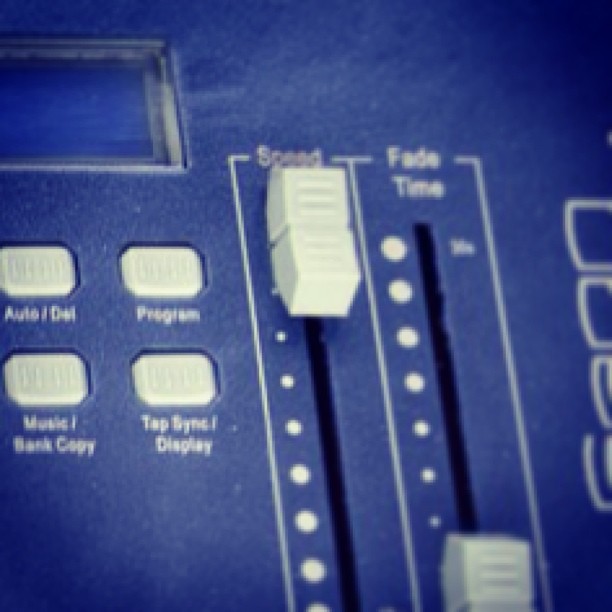
First, select the fixture you want to control. Adjust the faders to create your look. To adjust the first Then press the "Midi/Add" button. On the Obey 40, it is located just below the "Program" button.
The Obey 70's "Midi/Add" button is the top left button in the group of buttons located just below the LCD screen.

After you press the "Midi/Add" button, press one of the scene buttons to store your look to a scene. Lights on the controller will blink to let you know the scene is stored. Congratulations! You've programmed your first scene! Now simply repeat this process to create additional scenes.
But Wait, There's More!
If you've created eight scenes and decided you need more, don't worry! The Obey 40 and 70 can each store 240 scenes. There are 30 banks of scenes that you can use. (30 x 8 = 240.) So you can select other banks to store to even after you press the "Midi/Add" button.
To access those other banks, simply locate the "Bank Up" & "Bank Down" buttons. The buttons are located right above the "Program" button on the Obey 40, and to the right of the "Midi/Add" button on the Obey 70. Then press "Bank Up" to move from Bank 1 to Bank 2, and so on. The LCD screen on the controller will indicate what Bank you are currently in. "Bank Down" will move your bank selection in the opposite direction. Please note that if you are in Bank 1 and press "Bank Down" the controller will move to Bank 30.
That pretty much sums up how to program scenes into these controllers. In the next part of this series I'll discuss some ideas on building scenes that can maximize the use of these controllers, and your lights.
For more information on the Obey Series Controllers, check them out at SE Systems, here: Obey Series Controllers
~Andy