Lighting Control: How to Get More Bang for your Buck..

This is going to be a bit of a longer post, but there's a bit to cover.  A little while ago a person identifying himself  as  StevieWonder posted the following comment on one of my posts:

"Also wondered if you have any recommendations on controlling dmx with software and an ios device or a cheap netbook, or if a standard controller would do the trick? Any advice you can give would be much appreciated!"

This immediately raised one question in my mind. How does Stevie Wonder program lights?

The Dilemma

Until very recently, complex lighting control wasn't very affordable. Even super basic fader controllers to use with a basic dimming system were still around  $900 once you figure in sales tax for 24/48 channels.  They won't control movers well and still use microplex-  which is an archaic control protocol. (Although when looking at what ArtNet and RDM are bringing to the table DMX is archaic too.  All of this is a discussion for another day)

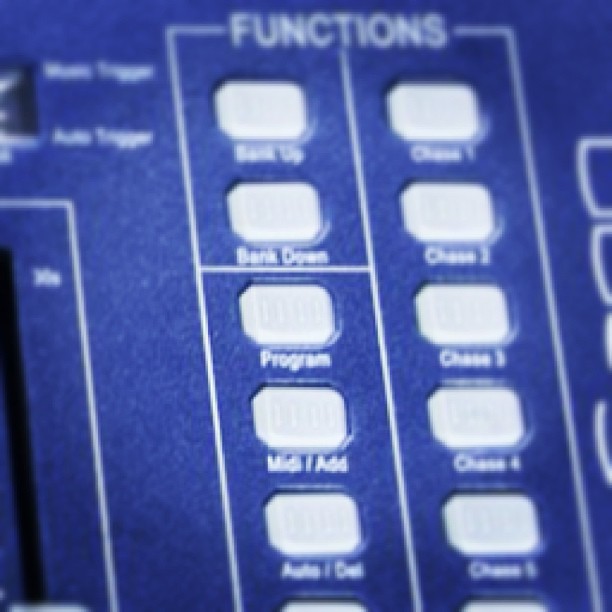
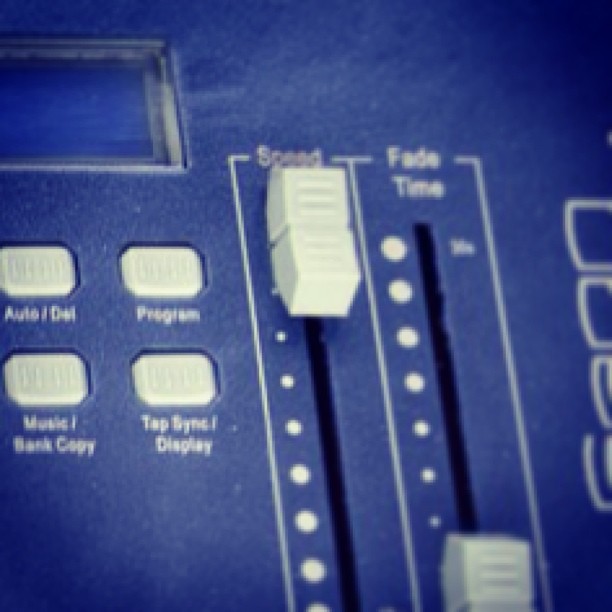
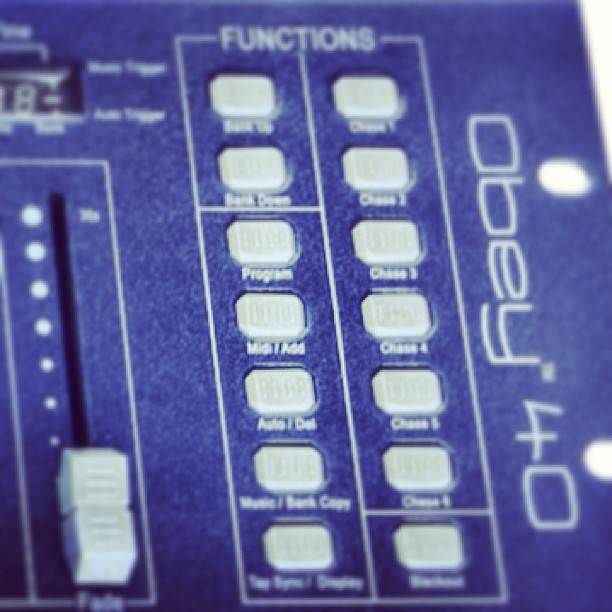
So then we take a look at the basic controllers like the Chauvet Obey Series, or the Elation/American DJ DMX Operator series.  They're great if you only have say 12 different fixture types, and are maybe recalling movement macros, or color macros on your lights. You're probably not going to program the Kiss reunion tour on one of these. I feel like it would be similar to hanging drywall with a screwdriver.  You can do it. But it's going to take a lot of effort.

The Solution

I'm about to say something really crazy. This is especially insane considering over a year ago I posted this blog about choosing a computer for recording- Recording from Your Digital Console: Choosing a Computer. The most cost-effective way to get a lot of features in a lighting control system for not very much money is to buy a touch screen tablet PC running Windows 8.

Many of the current lighting control software options offer remote control via iPad, iTouch, iPhones, and some Android devices, but you have to have a computer to host the main part of the program. Why not just skip a step and buy a touch screen tablet? It will be cheaper than buying a desktop/laptop machine and an iPad. There are some great deals on new and refurbished units out there. You just have to shop around. New Egg and Tiger Direct are two great places to start looking. (Unless we happen to start carrying tablets at work- at which point I'll edit this post and add a link.  Yes, I know shameless plug, but I gotta buy gear too. And eat.  Bacon ain't as cheap as it used to be.)

The Software


For lighting control software there are two main titles I would look at.  One is the Avolites Titan One dongle. The other is Chauvet's Show Xpress. Conveniently, we carry both of these at SE Systems. I'm only going to highlight a few features of each right now. I'll probably go a little more in depth later.

Avolites Titan One

Titan_One_Avolites_900

This. Is. My. New favorite thing! The Avolites Titan one dongle has quite a few advantages working for it.  The first is that it's the same software that all of the Avolites lighting desks use. The Titan One all the way up to their Sapphire Touch use the same exact software. This means if you learn how to use one, you can use them all. Here's a few other advantages:

  1. Price Point- the retail price of this package is only $250.00 USD. You have to be kidding me! Pro level lighting control for less than $300. (OK well you still have to have a computer but still)
  2. Cue Stacking- This is a great feature that allows you to take multiple cues, and assign them to one fader. For example, say you have a look programmed for your house lights, a look for your upstage (back wall) uplighting, and a look for your stage/front lighting. You might have a volunteer running the console, or you may just want to be able to touch one fader to have all three of those things change at one time.  You can do that.
  3. Avo's Quicksketch-  This feature lets you quickly assign a picture or scribble your own to assign to buttons and faders. So you can have a picture that means something to you. Like a guitar for a guitar solo look. Or a picture of Bob if Bob is speaking this week. Or a big red button for your big red look. Or a smiley face with a big hat when the band covers "Happy." PharrellHappyArtNews600
  4. Pallets, Shapes and Pixel Mapper effects-  These are tools that allow you to build shows quickly and efficiently- Think of pallets as collections of attributes.  I have a box of colors. I have a box of moving light positions and movement patterns. I have a box of chases and color changes that I can draw from.  Then I can take these attributes, select the ones I want and place them in a cue or cue stack.
  5. YouTube- There are a lot of YouTube training videos linked on Avolites' website, or you can just look for Avolites' YouTube channel.
  6. The Manual- There is a very detailed manual available for this software that goes over each of the features.

Chauvet's Show Express

showxpress7-l

I've probably spent more time using this particular software than the Avolites. Part of that is that the Avo software hasn't been available quite as long. (At least not at work.) Here's a few things I like about it:

  1. Live Mode: This basically gives you a panel of buttons that you can use to trigger scenes or looks. Very simple interface for a beginning user or volunteer operator. Live mode can also be remotely operated via an iPhone or Android based app. (But if you're running on a Windows 8 machine, there's no need to. Unless you want multiple pages of scene triggers- which might be super handy.)
  2. You can trigger multiple scenes in different windows of live mode. So if you have your uplighting blue, and your stage lighting green- as long as you have those scenes saved separately, you can recall them individually, but at the same time.
  3. Start in Live Mode:  You can actually set the software to start up in "Live" mode so that the operator doesn't have to deal with the set up or programming options.

So this is just a super basic overview of two systems. I may write a more detailed write up of each system in the future.

~Andy

Programming Inexpensive Lighting Controllers- Part Two B: Programming Scenes- Strategies

Obey 40 and Obey 70 Scene Buttons A Theoretical Problem

Say for example I just bought two really sweet new moving head lights. I can't wait to break them out. I've been asked to DJ a wedding reception in the garden atrium of the local swanky hotel. It's going to be a great night. 9:00 PM rolls around, a lot of the older guests have left, and it's time to start the dance party. You fire off the new dance mix of a Taylor Swift song, the dance floor is packed and you fire up the movers! They're moving all around, changing colors, and flashing.  It's like a mini club, and everyone is dancing. It's great! You see the bride's Aunt Wendy doing some sort of worm meets electro-boogie dance in the middle of the floor. You suddenly realize she's actually severely allergic to peanuts and is having some problems. You need to get control of your lights quickly.

We'll explore a few strategies for setting some scenes on your controller. These are just a few ideas I've used that work. They're not the only way to do things but they might be a good starting point.

Know your event

I have recently had to help a few customers program their Chauvet Obey 70 controller, and lights.  One gentleman was a member of a party band, and another customer DJ's a lot of wedding receptions..  We tried to program some scenes that would generally work well for most weddings for both customers.

The first step is to plan ahead. Know your event. Know when things are going to happen. Most wedding receptions follow a similar order. Things start off pretty chill, the bridal party is introduced, there's a father/bride dance, food might be served, a cake is cut, flowers are thrown, and at some point (hopefully) a raging dance party ensues.

Considerations

Since most wedding receptions start off pretty low key, keep the lighting low key.  Let your light show build as the evening builds.  This sets up a few things well.

  1. The first dance, father/daughter, etc usually happen early in the evening. If you fire up your movers, lasers, etc during these songs, you risk putting dots of color across the people dancing. Why is this a problem?  It will look weird in the photo album.
  2. If you're playing light dinner music and your light show is screaming "Disco Inferno" you might make someone nauseous. The other thing to consider is that your mirror ball might loose it's impact if it  runs all night long. Save it for a special slow song.  You wouldn't play Abba's Dancing Queen all night would you? Then consider cycling lights on and off throughout the evening.
  3. If you're using a controller that has multiple layers or scene banks, consider putting a "white" scene on each layer, with your movers pointed straight down at the floor or up at the ceiling. That way if Aunt Wendy goes into a fit, you can quickly bring up lights, pull the movers off the crowd and out of people's faces.

~Andy

Programming Inexpensive Lighting Controllers- Part Two A: Programming Scenes

Obey 40 and Obey 70 Scene Buttons In my last post in this series, "Fixtures" I discussed properly addressing lights so that they would correspond with the proper fixture button on the Chauvet Obey series controllers. I've decided to break the scene programming posts into two sections. In the first part I'll just talk about actually programming the scenes. Which buttons to press, and in what order.  The second part I'll actually go over some strategies for creating scenes, so that the controller really works for you, rather than against you.

So How Do We Do This?

Starting off we have to remember that the Obey 10 doesn't have scenes. So we'll skip that one for now. The Obey 40, and 70 do use scene memory, as does the Elation DMX Operator. We need to find the program button.

On the Obey 40 look for the big "Obey 40" logo on the right side. There are two columns of buttons directly to the right of the logo. The Program button is the third button down, on the second column from the right.

Obey 40 Program Button

The Obey 70's Program button is the top right-hand button, just under the LCD display. If you look for the Obey 70 logo on the right hand side of the console, you'll see two faders directly to the left of the logo.

Obey 70 Program Button

Now that we have located the Program button, hold it down for three seconds. Boom! Now we are in program mode! This will be indicated by a little light blinking in the lower left hand corner of the LCD Screen.

Programming a Scene

First, select the fixture you want to control. Adjust the faders to create your look. To adjust the first   Then press the "Midi/Add" button.  On the Obey 40, it is located just below the "Program" button.

Obey 40 Midi/Add Button

The Obey 70's "Midi/Add" button is the top left button in the group of buttons located just below the LCD screen.

Obey 70 Midi-Add

After you press the "Midi/Add" button, press one of the scene buttons to store your look to a scene. Lights on the controller will blink to let you know the scene is stored. Congratulations! You've programmed your first scene! Now simply repeat this process to create additional scenes.

But Wait, There's More!

If you've created eight scenes and decided you need more, don't worry! The Obey 40 and 70  can each store 240 scenes. There are 30 banks of scenes that you can use. (30 x 8 = 240.) So you can select other banks to store to even after you press the "Midi/Add" button.

To access those other banks, simply locate the "Bank Up" & "Bank Down" buttons. The buttons are located right above the "Program" button on the Obey 40, and to the right of the "Midi/Add" button on the Obey 70. Then press "Bank Up" to move from Bank 1 to Bank 2, and so on. The LCD screen on the controller will indicate what Bank you are currently in.  "Bank Down" will move your bank selection in the opposite direction. Please note that if you are in Bank 1 and press "Bank Down" the controller will move to Bank 30.

That pretty much sums up how to program scenes into these controllers. In the next part of this series I'll discuss some ideas on building scenes that can maximize the use of these controllers, and your lights.

For more information on the Obey Series Controllers, check them out at SE Systems, here: Obey Series Controllers

~Andy