This post is going to be a little departure from my current series on DMX addressing. I am going to take some time to focus on programming inexpensive lighting controllers. I'm currently employed at SE Systems in Greensboro, NC. I've worked there part time for the past two years while in classes at Guilford Technical Community College, pursuing degrees in Concert Sound & Lighting, and Recording Engineering. I also serve as a volunteer audio engineer with the production teams at my church. At work, and at church I've run into having to use basic DMX controllers quite often.
The Questions:
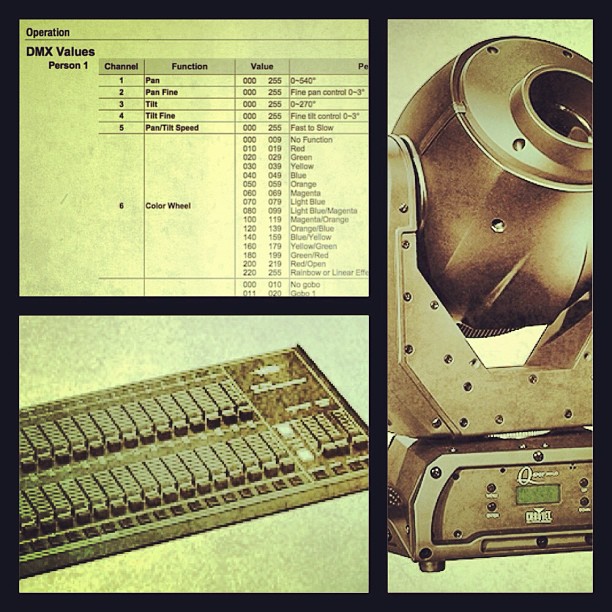
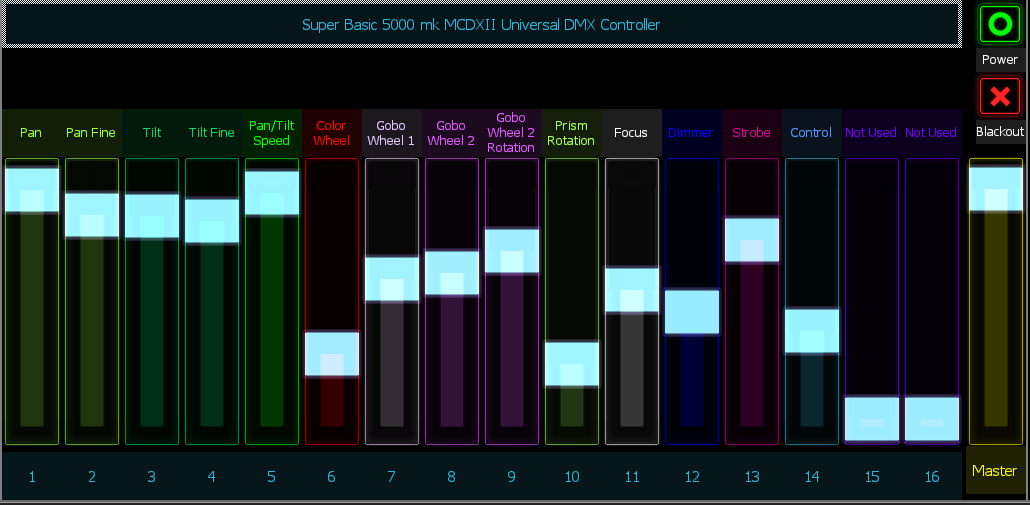
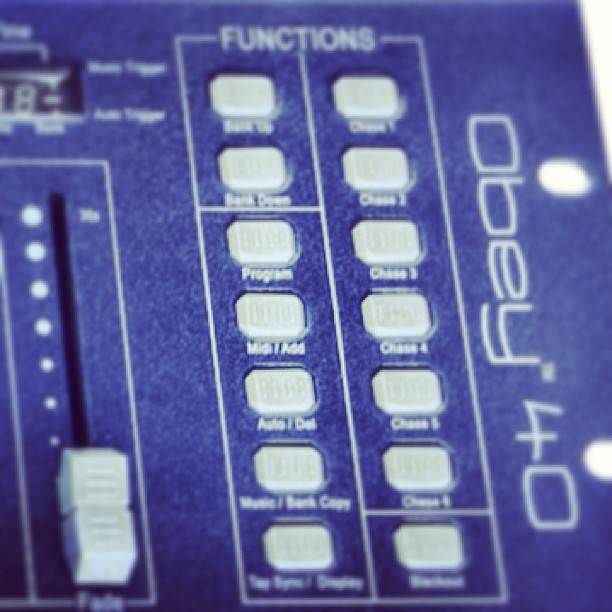
SE Systems carries the Chauvet Obey series controllers, and at my church, we use a Elation DMX Operator controller. I get a lot of questions from customers on setting these up. All of these controllers work basically the same way. There's a series of buttons to select what fixture (light) you want to control. Then there are some faders to control the lights. Then there's a bank of scenes, and a bank of chases.
What's a Fixture?
Fixture is just a pro lighting world word for a lighting device. It can be a par can, a moving head, a strobe or anything. We also sometimes use the word "instrument." Since these controllers use the word fixture, we're just going to use that for now.
What's a Scene?
A scene is basically a "snapshot" of the way the lights look. Most programmable lighting controllers allow you set multiple scenes, that can be recalled by pressing a button, or series of buttons.
Since we're talking about how the lights look, it's also important to know that lighting designers also use the term "look" a lot. In simple terms, a "look" is the way the fixtures are set- what's turned on, how bright or dim they are, what color they are, where moving lights are positioned- basically the visual presentation the lights create. A look is typically saved in, or as a scene.
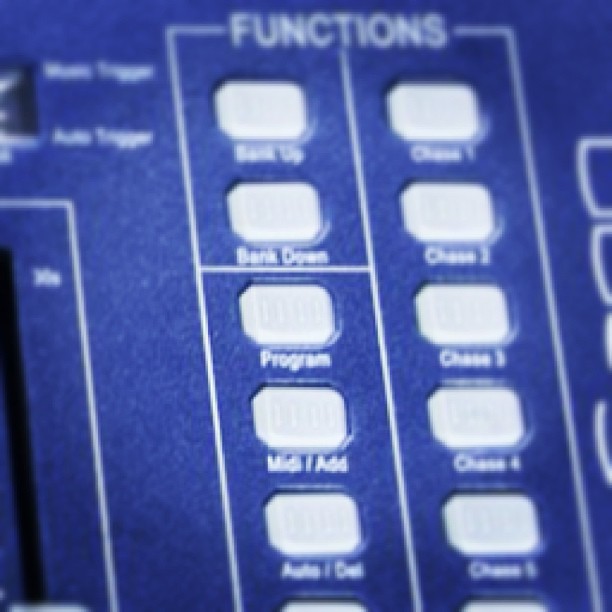
What about the Chase?
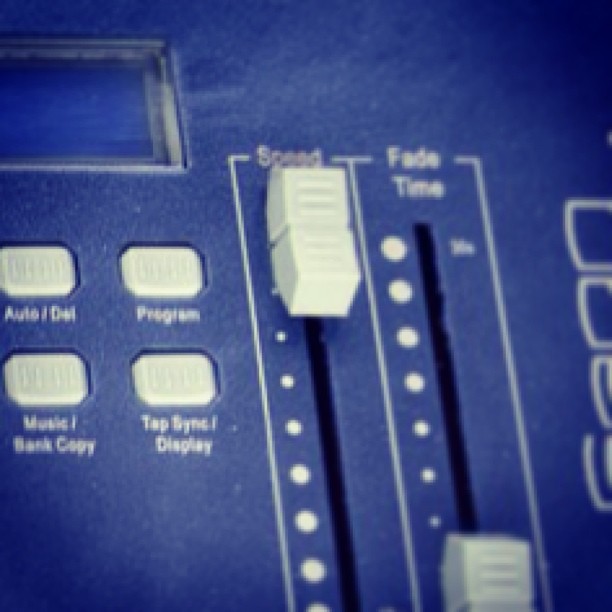
On these controllers, a chase is simply a string of scenes, strung together to play back in a pre-set order. Think of it as a robot in the controller that pushes the scene recall buttons for you, at a pre-set speed.
So How do Fixtures, Scenes and Chases Come Together?
The first step would be to assign the proper DMX addresses to the lights so that they are controlled by the appropriate "Fixture" button on the controller.
In the second step we put the controller in "Program" mode. Select the fixtures you want to control, and adjust the faders to create the look you want. In simple terms, a "look" is the way the fixtures are set- what's turned on, how bright or dim they are, what color they are, what position moving lights are in- the visual presentation the lights create.
Finally, if you're using the Obey 40 or Obey 70 save that look to a scene. Once you create a few scenes, you can then play back the scenes in a chase.
So short version for the Obey 40 and Obey 70:
Fixture (or group of Fixtures) => Scene (The way you've set the lights to look) => Chase (A Series of Scenes Played Back in an Order)
The Obey 10 doesn't have scenes so you would just program your looks into steps of a chase.
Let's Get Started:
Now we're going to focus on programming the Chauvet controllers. The Elation works the same way, however I just so happen to have an Obey 10, Obey 40, and an Obey 70 sitting on my desk right now.

 The Rig
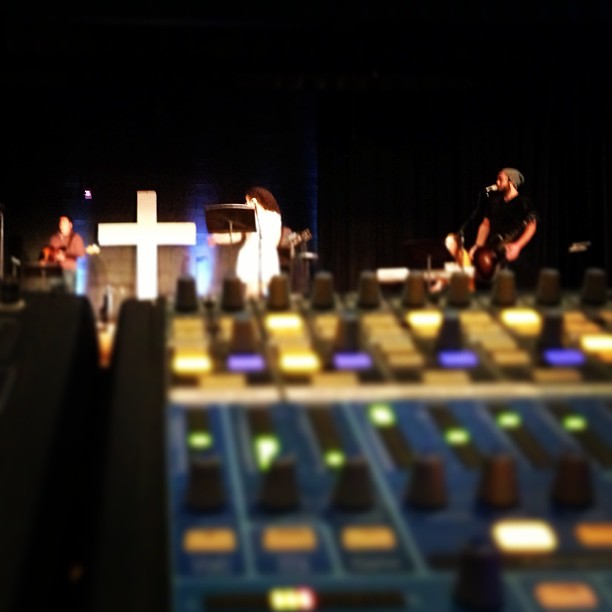
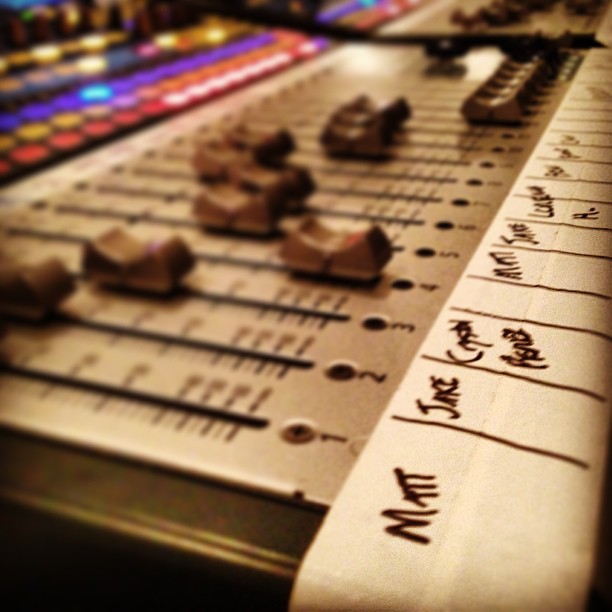
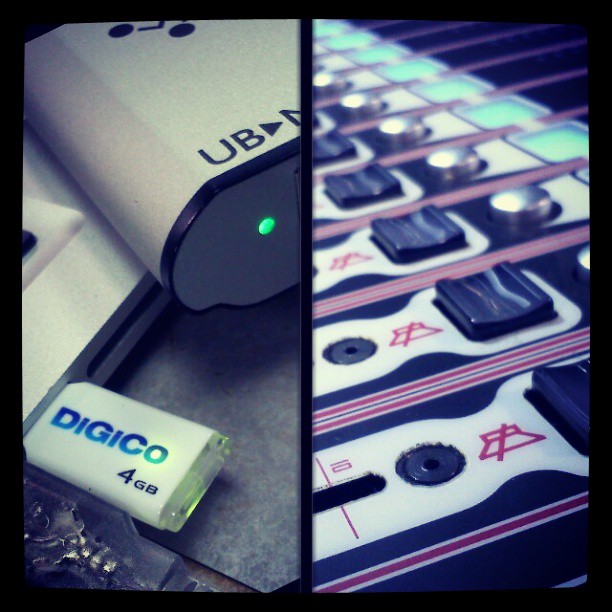
For this particular example we're going to use a DigiCo SD9, with two D-Racks, and the digital snakes. This is probably my favorite set-up. It's super easy to use, and quick.
The Rig
For this particular example we're going to use a DigiCo SD9, with two D-Racks, and the digital snakes. This is probably my favorite set-up. It's super easy to use, and quick.